
A typical Nest thermostat uses a C wire (Common Wire) to power itself. This C-wire doesn’t come with the thermostat, it should be already there in your previous thermostat’s electrical circuit.
But sometimes you may be surprised to find that there is no C wire present when you are installing your new Nest thermostat. What do you do in this case?
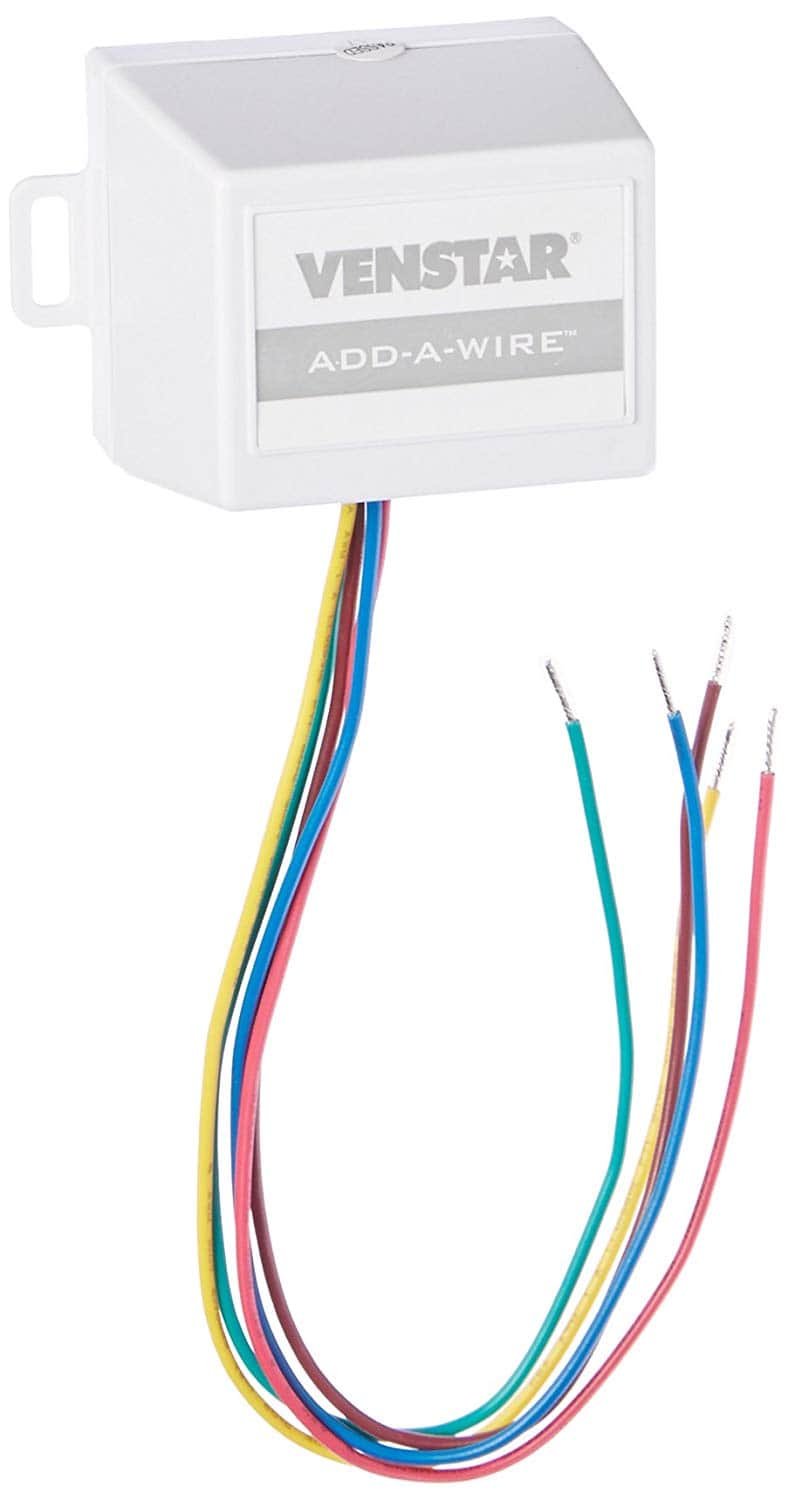
If there is no C wire to the Nest thermostat the best alternative is to use a C wire adapter.
Install Nest thermostat with a C-wire adapter
If the Nest thermostat doesn’t have a common wire you can use a C-wire adapter instead. A C wire adapter, also known as a common wire adapter, is a compact electronic device that repurposes the existing wiring between your thermostat and furnace. Its purpose is to add an additional wire to the system, specifically serving as the C wire or common wire.
In summary, a C wire adapter fulfills the same function as the common wire; they supply power to the thermostat.
You can find a C-wire adapter on the market for $50 and they are all performing the same tasks. So, get the C-wire adapter that is within your budget and you will be able to install your thermostat in minutes.
Installation steps
Once you got your Nest thermostat and your C-wire adapter, you can follow these steps to install it by yourself! Make sure you have a screwdriver handy as you will definitely need it in the process!
Step 1: Check the terminals of your Nest thermostat
You will need to use a screwdriver to unscrew the top cover of your thermostat. After you do that, you will find four different terminals. The terminals are Rh terminal for power, G terminal for the fan control, Y1 terminal that controls cooling pools and W1 terminal that controls the heating loop. Also, while you are at this step, you will want to turn the power off so you can move forward with safety. Make sure you still have natural light or a flashlight to proceed with the following steps, though.
Step 2: Connect the Nest thermostat
If you had a previous thermostat that you are replacing with your Nest thermostat, it will help you to snap a picture or write down the correct connections as they will most likely remain the same. You will have to connect each wire to the correspondent terminal on your thermostat. For instance, you will need to connect the right wire to your heating W1 terminal so that the furnace can deliver the heat you need. Consequently, you will connect a wire to Y1 terminal for the cooling system and one to the G terminal for your fan system. Without the example of a previous thermostat, you can find clear indications on the instructions of your new thermostat so make sure to check those as well.
Step 3: Install the adapter
Once your wire connections are made correctly, you can add the C-wire adapter. You will connect one wire of the adapter to the Rh terminal and the second wire of the adapter to the C terminal. Such C-wires adapters come with only two wires and it doesn’t matter which wire you connect to these two terminals. It is important to connect your wires in such a way that only the insulation can be seen from the outside of the terminal.
If you complete this step correctly, there will always be power between the Rh and C terminals, allowing your Nest thermostat to run smoothly and without shortcomings.
Step 4: Assemble the thermostat back
Now that your C-wire adapter is installed, you will add the case of the thermostat back on and make sure you screw it in tightly. It is important to leave the power off until you are sure that your thermostat is put together securely. Once you installed the Nest thermostat it is safe to turn the power back on and enjoy the new comfort of your home! Give your thermostat a few hours to adjust to your home system and start learning the needs you have before you decide if you are satisfied of it or not. These thermostats adjust to each home over time and eventually, you will have the perfect temperature with no effort on your part!
Step 5: Extra step: Check the current that your Nest thermostat receives
With a C-wire adapter, the amount of current that will get to your thermostat should be a minimum of 20 mA so if you get this value, everything works properly. If you don’t have constant power getting to your thermostat, it means that the adapter was not connected the right way. For Nest thermostats that are installed without a C-wire adapter, there is a charging port that you can use to recharge your thermostat as needed.
Alternative 2: Charge Nest through the charging port
A less popular alternative to C wire is manually charging the Nest thermostat through its charging port. All Nest thermostats come with a charging port and a charging cable.
To charge the Nest thermostat plug the charging cable into the socket and connect it to the thermostat. Once fully charged, the battery will last for 24 to 48 hours. You can use plug-in the thermostat full-time as an alternative to using the C wire. But the hanging wire makes it look less appealing to the eyes. So for aesthetic reasons, using a C-wire adapter is the best alternative when the Nest thermostat doesn’t have a C-wire.
Does the Nest thermostat need a C-wire
The short answer is that you don’t need a common wire to install your Nest thermostat. You can just as well use a C-adapter and your device will function just as well. However, experts will tell you that it is recommended to use your NEST thermostat with a C-wire.
If you C wire is not used in Nest thermostat, it can cause a ‘pulsing problem’
Pulsing problem
The Nest thermostat’s “pulsing” problem occurs when the thermostat tries to recharge its battery in systems without a C-wire. In systems with a C-wire, the Nest charges itself without any issues. However, in systems without a C-wire, the Nest attempts to draw a small amount of power from the HVAC system whenever the heating or cooling is not running. This is known as “power stealing.”
In most cases, this power stealing method works fine as long as the heating or cooling is used frequently. However, if the HVAC system is not running often, the Nest’s attempts to draw power can cause problems. Some sensitive systems may interpret the Nest’s power draw as a signal to turn on, resulting in a loop of the furnace or air conditioner rapidly turning on and off.
This may lead to problems like strange noises from the furnace or boiler, rapid cycling of the furnace or air conditioning compressor, the fan getting stuck on or off, and short cycling of heat pumps. Some people have also experienced the Nest working fine during one season but failing in the other season (e.g., working in winter but failing in summer, or vice versa).
Therefore, it is advised to use C wire with the Nest thermostat. And if there is no C wire, make sure to use a C wire adapter.
Comments are closed.