
As winter starts to fall, we get more conscious of our surrounding temperature. We start looking for reliable thermostats that can help us to maintain the temperature of our home. But we often forget that the floor is usually much colder than the rest of the room. And if you walk barefoot all around your house, you will rapidly lose body heat, making you feel colder than usual.
In that case, your best bet is to buy a floor thermostat that can maintain your floor temperature so you don’t get iced up. Fortunately, SunTouch has launched a new line of SunStat floor thermostats, SunStat Command, that is designed to control electrical underfloor heating systems.
SunTouch thermostats can control electric floor heating systems by controlling air and floor temperature. By default, SunStat commands control of the heating system to maintain the selected floor temperature.
This versatile thermostat includes a built-in relay to control a 120 or 240-VAC floor heating system and GFCI for added safety. SunTouch thermostats can control electric floor heating systems by controlling air and floor temperature. By default, SunStat commands control of the heating system to maintain the selected floor temperature.
In this article, we’ll do a complete review of the SunStat Command thermostat and find out whether it’s worth buying or not. Let’s get started.
SunStat Command Thermostat: What’s New
As the details read, the SunStat Command is a leading floor thermostat with its thin and sleek design. It sports a large readable display that is based on touch and provides an easy way to control your floor heating system. We’ll talk about more details later in the part, but before that let’s find out what’s new in the SunStat Command thermostat.
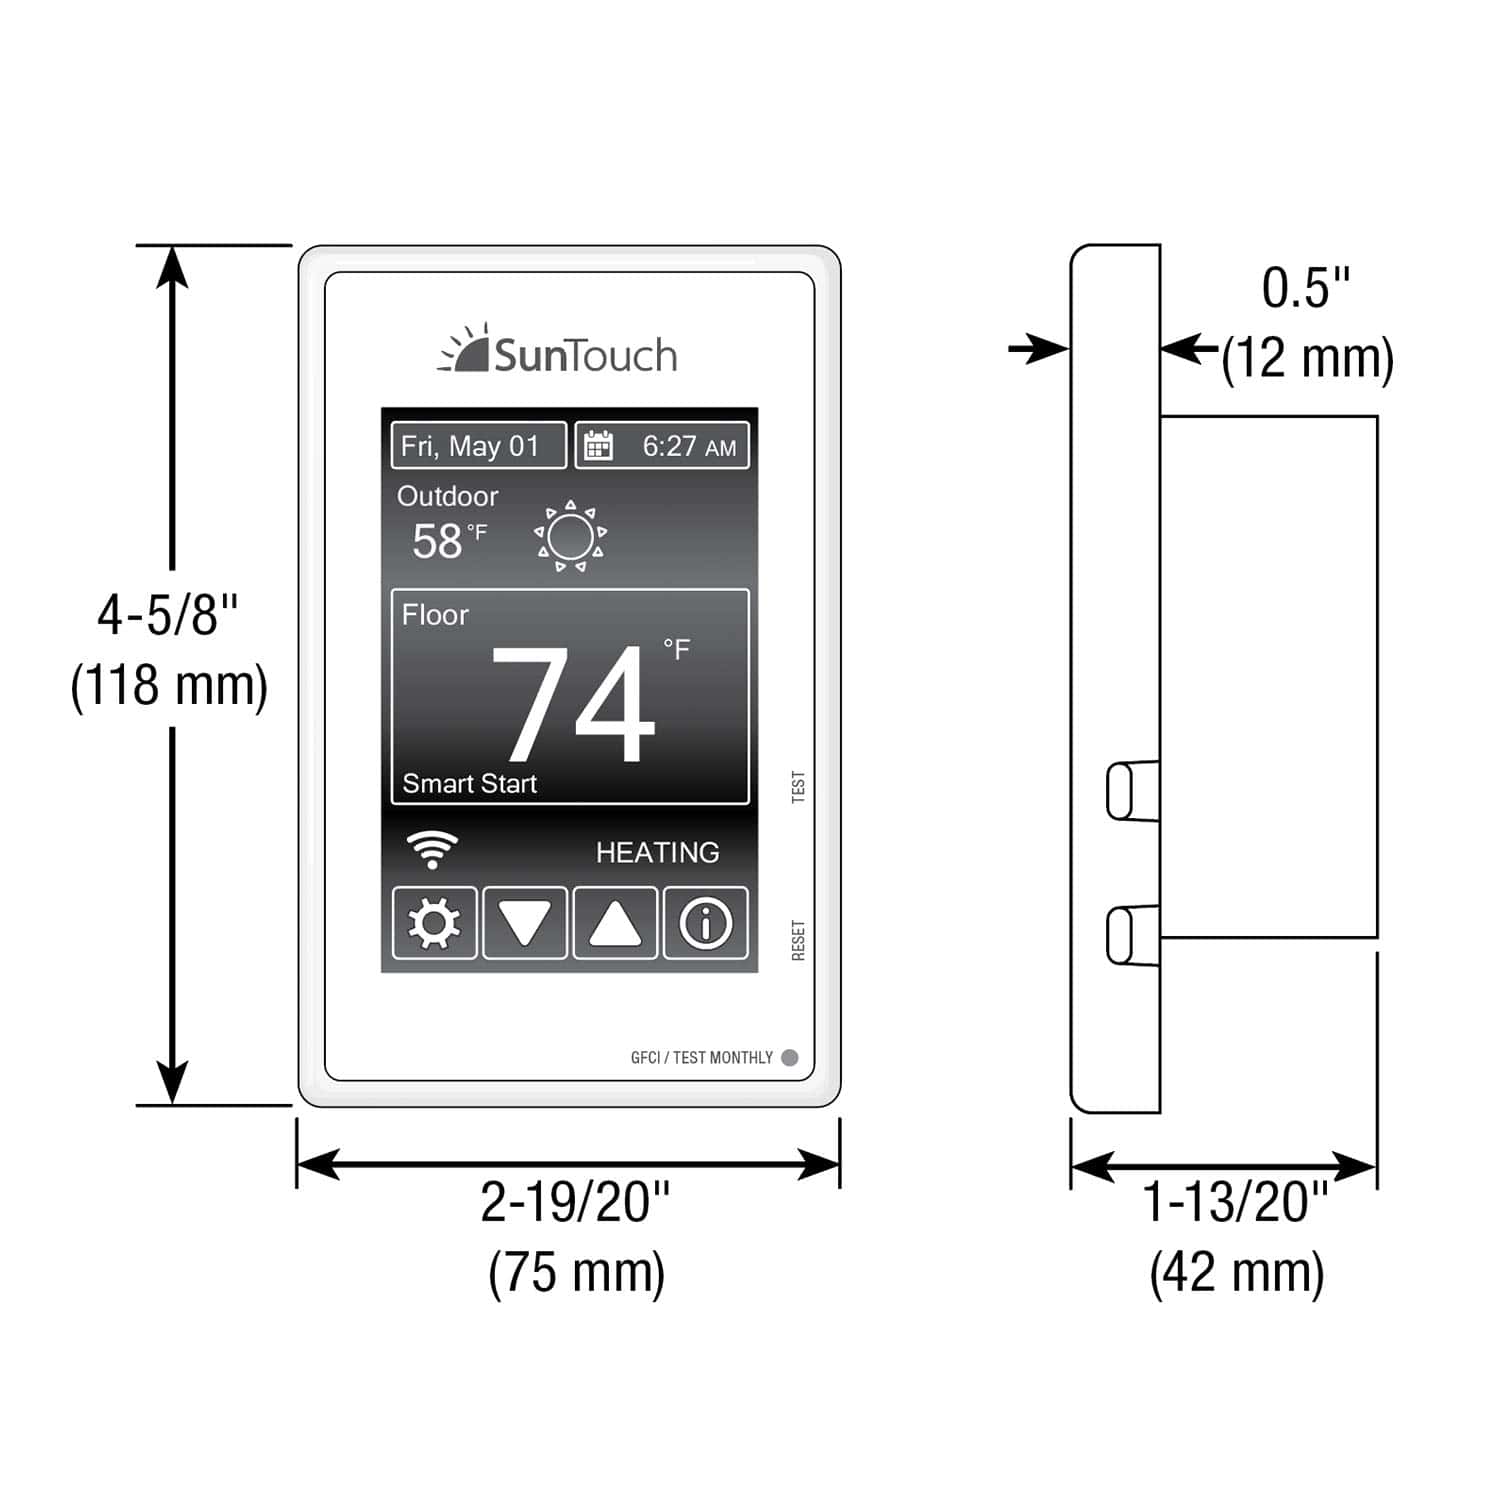
- 118 x 75 x 42 (mm) in size
- Large 3.5-inch touchscreen display
- Multiple color display options
- Built-in relay and GFCI
- Home automation tie-in
In the box, you get one SunStat Command thermostat, floor sensor, screwdriver, two machine screws, five-wire nuts, and an installation manual.
Design and Display
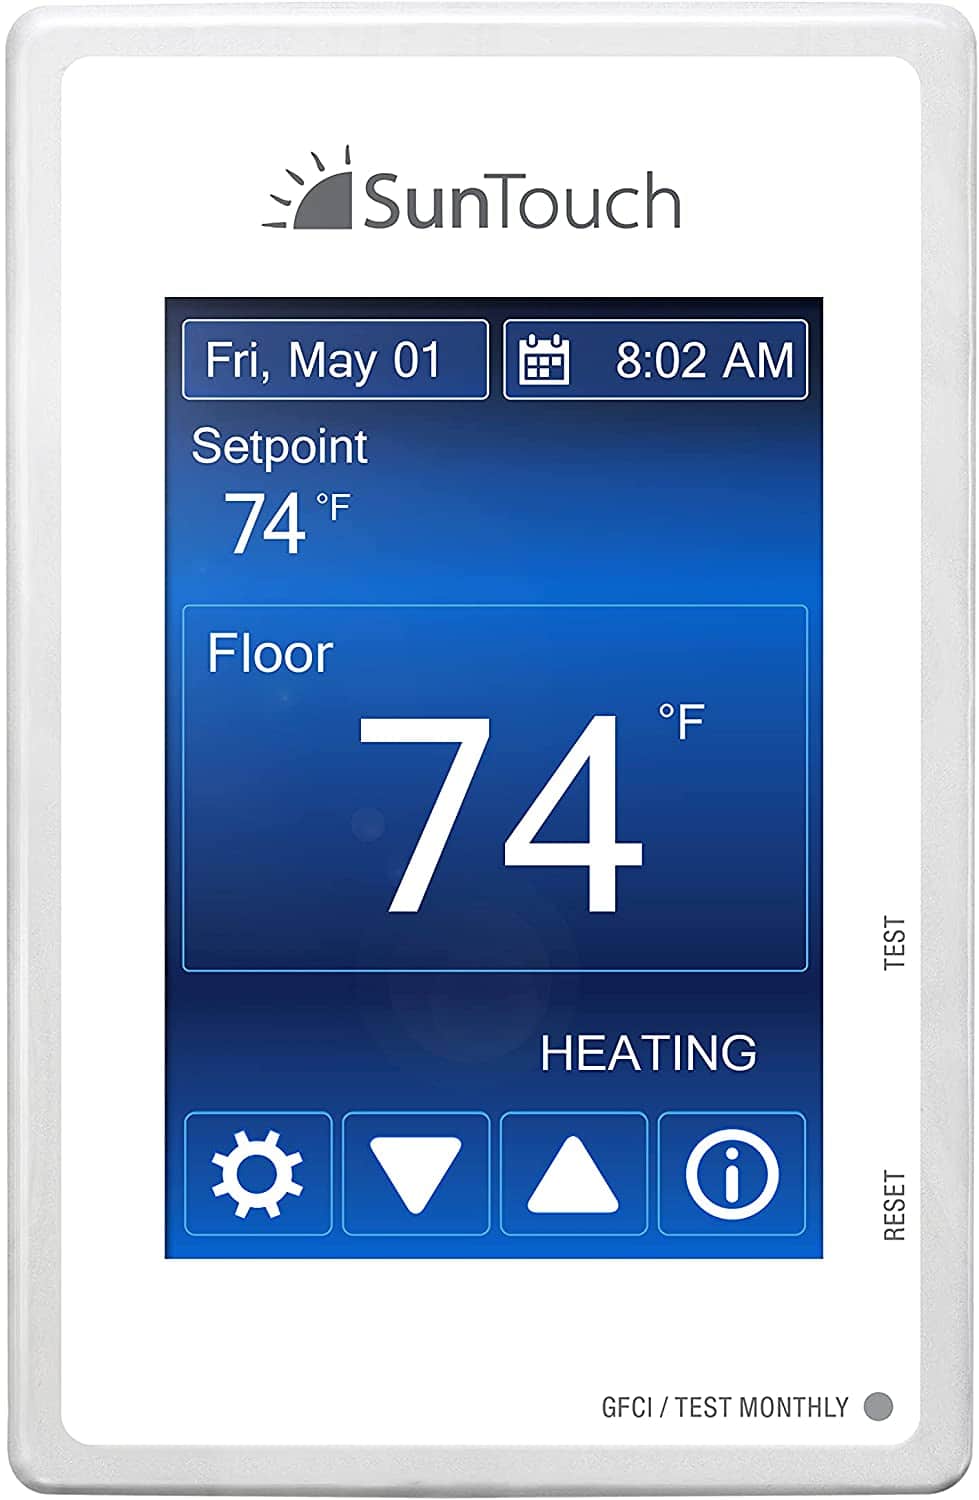
The SunStat Command thermostat features a 3.5-inch large touchscreen rectangular display with multiple color display options. The display is attractive, bright, and easy to read. Some old thermostats have this problem of small displays that would require a magnifying glass to figure out what’s on the screen to read. But fortunately, that’s not the case with the SunStat Command thermostat.
The home screen displays your current floor temperature, which can be adjusted by the up and down arrow buttons at the bottom. Right above the floor temperature, at the left is your current outside temperature. You can also check the weather forecast and schedule your temperature on this thermostat. Apart from that, you have Wi-Fi, settings, and a help button at the bottom of the screen.
There are five preset display color themes that you can customize to suit your personal style. Summing up, the display is crisp, clear, and bright enough with lots of feasible options.
Features
The SunStat Command thermostat is equipped with a wide variety of features. Some of these features include floor and air sensing control, 7-day programmable schedules, energy use monitoring, help screens, temporary hold settings, and a home automation system tie-in. You also have the option of painting a retractable beauty ring to blend it with your walls.
A built-in relay to control 120 or 240 VAC floor heating systems and a GFCI to improve safety are also available on this thermostat. The SunStat Command controls the floor temperature by default. It can prevent the overheating of space by limiting the floor temperature or can be configured to control the space through air temperature alone.
The control setting determines whether the control maintains floor temperature or room temperature. When the thermostat is limiting heat output based on the programmed floor or room maximum offsetting, the floor or room maximum is displayed on the screen. To deactivate this control, press the button and select the displayed screen.
You can configure the Away Settings in the Setup menu and automate it so that when you leave the house, the thermostat can switch to Away mode to save energy.
The SunStat Command thermostat has a one-week day program by default — a Saturday and a Sunday program. You can tap on the Schedule option on the home screen to switch between programs.
In order to edit the time or temperature, touch the time or temperature displayed on the screen. You can also divide the schedule into different groups of days by selecting ‘New Program’. But you have to delete the current set of programs in order to divide the schedule and select days for a group in the new programs.
SmartStart technology automatically adjusts when the underfloor heating system is turned on to ensure that the floor is warm at the scheduled time. A convenient 7-day program makes it easy to program your underfloor heating to suit your lifestyle.
If a terminal labeled ‘Home Automation’ and ‘COM’ are short-circuited or 24 VAC is applied, it will switch from outside temperature to normal operation.
SunSet thermostats are advertised as being able to be controlled by home automation. These thermostats also work with all SunTouch floor heating products as well as many other manufacturers’ floor heating products.
Installation and Setup
The installation process of the SunStat Command thermostat is simple and easy.
Installing the SunStat Command Thermostat
With the SunTouch SunStat Core, Command, and Connect models, SunTouch offers a complete set of easy-to-install controls for all underfloor heating systems. SunTouch SunStat Command has an intuitive touchscreen display and an intuitive schedule that simplifies programming. It’s easier to program than any thermostat we’ve ever used, including the Nest.
Disconnect the front of the monitor from the base before connecting the cables to the back of this control. Connect the power ground wire to the ground wire of the underfloor heating power wire. Connect the white wire labeled LOAD 2 on the thermostat to the white (or blue, 240VAC) wire on the heating pad or power cord. For SunStat C3 relays, connect 2 wires from the relay to the Com and Relay terminals on the relay.
The SunStat C3 relays are used for currents greater than 15 amps that must be controlled by a SunStat thermostat. Depending on the thermostat, the lead wire is connected to the terminal or thermostat wire. The other box has 120V AC and 2 pairs of 18ga cables from this box to this box.
Thread the thermostat probe (and cable, if used) through the hole, down through the hole in the base plate, through the base plate, and into the floor where the heating cable will be run. If you are attaching the sensor cable to the wall stud, wait until the cable or mat and thermostat sensor are fully seated on the floor.
Never forget to install the floor sensor that came with the thermostat. The below guide will help you install the floor sensor with ease.
Installing the SunStat Sensor
After installing the SunStat Command thermostat, it’s time to learn how to install the SunStat sensor that comes in the box.
You can install the SunStat sensor with or without an electrical conduit, though it is recommended for added protection against nails and screws. Open a separate knockout in the thermostat box and feed the sensor or conduit (if used) through it, down through the cut-out in the bottom plate, and out into the floor where the heating cable will be installed. Do not place the sensor in the same conduit as the power leads or it will cause possible interference.
After installing the wire or mat and sensor, secure the sensor wire to the wall stud. At the sensor location, measure at least 1’ into the heated area and mark the spot where the sensor will be attached to the floor. Place the sensor exactly between the two heating wires and make sure the sensor wire does not cross over any heating wires.
Keep the following things in mind while installing the SunStat sensor:
- Do not locate the sensor outside the heating area or in a gap between heating wires that is wider than the rest of the floor.
- Do not locate the sensor where direct sun, hot-water piping, heat duct, or lighting below will cause inaccurate temperature readings.
- Do not locate the sensor where an insulating item such as a rug is likely to be placed.
You also need to make sure that the sensor tip does not create a high spot on the floor. In order to do that, follow the below steps:
- Chisel a channel into the floor and lay the sensor tip into the channel.
- Hot glue the tip into place.
- Do not cut the sensor wire or remove the black cable protector.
- Strip the wire ends to 1/8″ long.
You are now done. However, if you have any difficulty following the above guidelines, you can check the installation guide and download it from the official site of SunTouch.
The Good
- Large 3.5-inch touchscreen display
- Built-in GFCI feature ensures safety
- Removable, paintable beauty ring
- Installation is easy
- Dual Voltage 120/240V can handle high voltages
The Bad
- The viewing angle isn’t appropriate
- Build quality feels cheap
Should you buy the SunStat Command Thermostat?
There’s no doubt that the SunStat Command thermostat is a decent floor heating device with impressive features. The best part is you don’t have to break the bank to get a hold of this thermostat. It’s a worthy choice if you are looking for an inexpensive smart thermostat.
It achieves all of its goals very well, with so many different features and add-ons onboard. The display is crisp and clear with multiple color options. Some features like an energy use monitor, GFCI, and a floor sensor save both your time and money. You can also adjust your floor temperature from anywhere via a mobile app.
The bottom line is, if you want to save yourself from bone-chilling winter without investing much, the SunStat Command thermostat is your best bet.
Comments are closed.